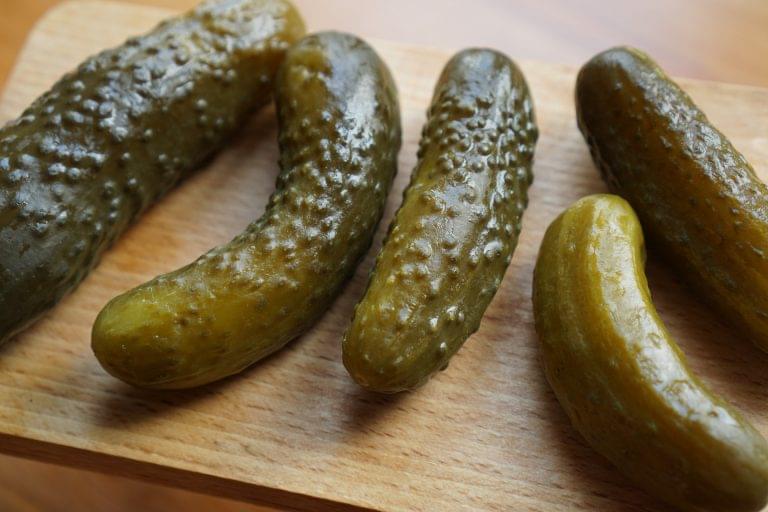
My Babcia’s fresh Dill Pickles were one of the treats of my childhood. Like too many Babcias, though, she didn’t share her recipes easily. This is one that Mom asked her for, then refined a bit as she pickled through my early childhood. It’s lingered in my memory as one of The Best Dill Pickles ever. I don’t know how happy my Babcia would be to see it being shared with the world. My Mother knows how hard it is to find a truly exceptional pickling recipe, even though pickles are so easy to make. She was happy to share it with the world. I personally love the idea of all of you having a chance to get a little taste of my childhood.
Cucumbers are cooling. Fermenting them helps your digestive system pick up enough heat and circulation to break them down and absorb all those nutrients and medicinal properties. This recipe is a tasty way to get your Fermented Foods in for the day.
The Dill, Bay Leaf, and Allspice in this recipe support good digestion. Garlic offers circulatory support, immune support, and tastes darn good. (Note: I say my Aunt Helen’s idea that More Garlic = Better Pickles is spot-on.)
I use an approximate ratio of 3/4 Tbsp (12 ml) salt to 1 cup (240 ml) water. Adjust as makes sense for the cucumbers you’re using, your climate and humidity levels, and the level of saltiness you like best.
Ingredients
- Cucumbers, pickling type
- Salt to taste (approx .25 cup or 60 ml Kosher salt)
- Fresh Dill, approx. 10 branches
- 1 tsp (5 ml) Allspice, whole
- 1 Bay Leaf, whole
- 3 slices rye bread
- Garlic, optional
- Pickling spices (optional)
- Water, freshly boiled or otherwise purified, about 5 cups
Equipment
- Dry and liquid measuring cups and spoons
- Crock or similar non-metal vessel large enough to fit all ingredients in the bottom 2/3
- Plate and rock or similar device for holding ingredients submerged
- Cloth or similar cover
How-to
- Add the water and salt to a pot and bring them to a boil, stirring to dissolve the salt.
- When the water has come to a boil, turn off the heat and set it aside to cool to room temperature.
- While the water is cooling, wash the cucumbers and assemble the rest of the ingredients in the crock.
- Lay the bread slices at the bottom of the crock.
- Lay the fresh dill atop the bread.
- Add cucumbers to the crock.
- Cover the cucumbers with the cooled saltwater.
- Add the bay leaf, allspice, pickling spices and garlic to the crock.
- Lay the plate and rock or similar device on the cucumbers and spices to keep them as submerged as possible. The water should be two fingers’ width or so above the plate once it’s weighted down.
- Drape the cloth or towel over the crock to keep dirt and debris from falling inside.
- Check your fermentation daily. You should see bubbles beginning to form on the water’s surface within a day or three, depending on your environment. Fermentation takes place faster in warmer climates.
- Ensure the water level remains above the plate vegetables. Add more saltwater if necessary.
- By the third day, you can begin taste-testing your pickles. They’re usually starting to taste sour somewhere on day three to six, depending on your environment.
- When you like the flavor, enjoy!
Storage and Use
Refrigerate your finished pickles when they’re tasting as you like them. If you keep them on the counter, they will continue to ferment. That means they’ll get more sour and being to lose their crisp texture as the days go by. It will not harm you to eat them as they continue to ferment, but you may reach a point where you don’t enjoy them as much and won’t want to finish them off.
Note: You can save the brine from your pickles to get your next batch started more quickly. You can use it to start other fermentations, like Saurkraut or Kimchi. Or, you can add it to salad dressings in place of vinegar or use it as you would vinegar in soups, stews, and other dishes. The brine contains a lot of good nutrients and live cultures, making it a potentially healthy flavoring. If you heat it, you lose the live cultures but you’ll still have loads of nutrition to enjoy.


